
It is 10:30pm and I am lying in bed consumed by the smell of the fresh loaf of bread I took out of the oven 15 minutes ago. I am fighting with every inch of my body to not walk down the stairs and slice into the warm loaf. The smell is rich, buttery and fresh. Fight, fight, I remind myself.

The stages
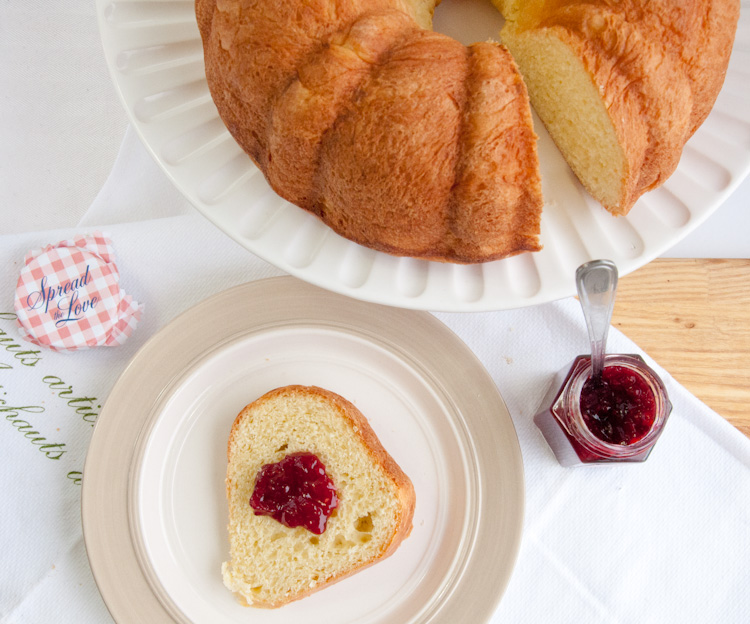
BRIOCHE
 3) Fermentation: Turn the dough out onto a lightly floured surface. The dough may be moist and sticky. Lightly flour your hands and knead the dough a few times folding it over itself a few times. Placing the seam to the surface, smooth out the dough forming a loose ball, that will spring back if lightly pressed.
  5) Keep an eye on your dough, if you store it in the oven, remove it and place in on your counter while you preheat the oven to 375F. Mix together 1 egg and 1 tbsp of water to create the egg wash. Using a pastry brush, spread over the loaf.
There is nothing better than a loaf of bread, except for one thing; a fresh homemade loaf of bread. Making your own bread however can be intimidating and scary. As with most baking, bread is very technical and precise. Ingredients need to measured and temperatures need to be monitored. There are different kinds of flours, fats, and yeasts with processes including proofing, kneaded and rising. Scared yet? Don’t be. You don’t need to be an artisan baker to make bread if you know a few simple tips.

The ingredients
Breads begin with four basic ingredients; flour, water, salt and yeast. Flour is the key component to bread providing the strength and structure to the bread through gluten development. Water or other liquids also directly affect the breads structure. Yeast is responsible for texture and flavor. The more time the yeast has to ferment the greater the flavor development. Salt helps to control the fermentation process and provide additional flavor. Additional ingredients such as sugars and fats can give breads a more delicate texture and soft crust, such as brioche or challah.
The stages
The beginning of any recipe begins with scaling and mixing the ingredients. The ingredients are blended together on low speed to form a wet sticky dough. You continue to mix at a moderate speed to develop the gluten and distribute the yeast forming a uniform smooth dough. If you don’t have a stand mixer this is where you would knead the dough for several minutes, folding the dough over itself forming the smooth dough ball. The second stage is fermentation; the dough is left double in size by placing it in a large bowl lightly covered to allow for expansion. Some recipes will ask for the fermentation to occur twice, “punching” down the dough allowing it to double again. Stage three which requires scaling, shaping and proofing the dough. Proofing is a continuation of the fermentation process where the dough doubles even further after the dough is in its desired pan or shape. Once the dough has doubled again you move to the final process, baking.
BRIOCHE
(adapted from fine cooking)
INSTRUCTIONS:
- 1 lb. 2 oz. (4 cups) unbleached all-purpose flour
- 1/3 cup granulated sugar
- 3 tsp (1 packet) active dry yeast, preferably Red Star brand
- 2 tsp salt
- 4 large eggs, at room temperature, plus 1 large egg wash
- 1/4 cup skim milk, room temperature
- 1/4 cup buttermilk, room temperature
- 8 oz. (1 cup) unsalted butter, cut into cubes, softened

INSTRUCTIONS:
1) Make the dough: Combine the buttermilk and milk and microwave for 10 seconds. Measure the temperature of the milk after, you want the temperature in between 95-105F. Add the yeast and 1/2 tsp of sugar for the yeast to feed on. This will activate the yeast. In a stand mixer fitted with the paddle attachment, mix the flour, sugar and salt on low speed until combined. Add 4 of the eggs and the yeast/milk mixture and continue mixing on low speed to combine until just the dough is just coming together. Switch to the dough hook and mix on medium speed for 2 minutes. Scrape the bowl and hook if needed. Mix until the dough becomes firm and elastic, about 2 minutes more.
2) Add the Butter: Add half of the cubed butter, a few pieces at a time while mixing on medium low. Un-attach the dough hook and give the dough a few kneads by hand to incorporate any butter. Reattach the dough hook and add the remaining butter similar to the first addition of butter. Once all of the butter has been added, increase the mixer speed to medium and mix for 4 minutes. Scrape as needed. continue to mix until the dough is smooth, soft, and shiny, about 4 minutes more. Resist the urge to add extra flour, or the brioche may be tough.

Place in a large bowl and cover with plastic wrap. Not too tight allowing room for dough expansion. Place the dough in a warm, draft free place until doubled in size, about 1 1/2 hour. I often turn my oven to warm (170F) then turn it off a while I am kneading the dough so that it cools down slightly. I then place my covered dough in the oven.
4) Fermentation part 2: Repeat step 3 after you have lightly punched down the dough. Shaping the dough to go in the baking pan. Place the dough in pan, covered with plastic wrap and allow to double again.

6) Bake about 20-25min, loaf will be golden on top. Let cool on a wire rack.
Brioche is heaven! It is light (well maybe not light on the waist), flaky, buttery and melts in your mouth. It is the M&M's of bread. It's not the best sandwich bread, but it's great for snacking, french toast and tea. This bread is great for weekend company and even better for Easter brunch. Enjoy!
MEG's RATING : D-EEEEE-LICIOUS!
MEG's RATING : D-EEEEE-LICIOUS!
You have warm brioche waiting downstairs and you aren't down there now, tearing into it at an astonishing rate? Now that is willpower! It looks absolutely delicious. And brioche french toast sounds amazing.
ReplyDeleteThat looks fantastic! The crumb is so perfect and buttery.
ReplyDeleteWow, this is the biggest brioche I've ever seen. Would love to dig into that. I bet it's soooo buttery and wonderful.
ReplyDeleteThis really is a beautiful brioche! I've never made brioche in a pan like this, but it looks like a great idea. Your photos are wonderful, too.
ReplyDeleteA GREAT POST. I never feel more like a cook than when I am pulling a loaf of fresh bakes bread out of the oven.
ReplyDeleteWonderful presentation of this in the oval pan
Thanks for adding this to eRecipeCards.com. Your post came through perfect. Hope you make us a daily habit. Feel free to post any of your back stock you might like. I really enjoy your blog